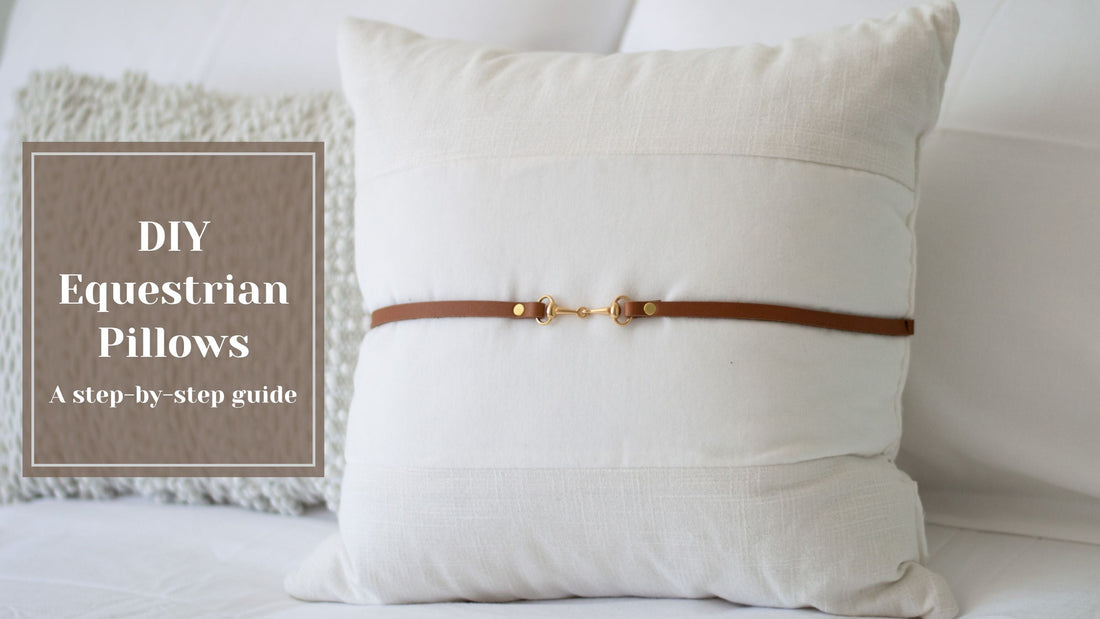
DIY Equestrian Pillows
If you're on the hunt for a unique way to bring a touch of equestrian charm into your home, look no further. Our DIY Equestrian Pillows are the perfect way to refresh your space with a touch of vintage charm and modern elegance. Follow along as we share step-by-step instructions and tips for creating these leather accent pieces.
Materials/Tools:
- Leather Scraps
- Neutral Pillow
- Scissors
- Heavy Duty Needle
- Sewing Thread
- Gold Snaffle Bits
- Hammer & Nail or Leather Punch Set
- Gold Rivets or Chicago Screw Set
- Double-sided Tape
Instructions:
- Measure & cut your leather strips - Measure & cut your leather scraps into thin strips. Make sure to cut thin enough strips that they will slide easily onto the end of the gold bit. *Feel free to use whatever size snaffle bit you'd like!

2. Measure your leather strips on the pillow - Place the gold bit onto the center of your pillow and measure the distance from the end of the bit to the end of the pillow on both sides. (We only wanted our leather strips to be on the front of our pillow, so we measured from the bit to the side seam of the pillow) Add about 2" to the measurement on each side to account for folding and riveting the bit on the leather strip, and trimming the end after sewing. Cut 2 leather strips to the correct measurements.

3. Attach bit to leather strips - Slide one of the leather strips through the end of the bit and fold over. Mark the top and bottom of the leather strip where the rivet will go with a pen or pencil. Remove the leather strip from the bit and, using a nail & hammer or your leather punch set, punch out two holes in the leather where your marks are. Slide the leather back through the bit and line up your holes. Using either rivets or your Chicago screw set, attach the bit securely to the leather strip. Repeat the process on the other side of the bit.

4. Measure & punch stitching holes - Lay your leather & bit onto the pillow, and measure out where the end meets the side seam of the pillow (or wherever you want the leather strip to be sewn on the pillow) Mark the end, and punch two holes on the end. *these holes will make sewing easier* Repeat this process on the other side.

5. Aline & sew your leather strip & gold bit onto the pillow - Lay your leather & bit onto the pillow, and using double-sided tape, place the strip securely in place. Using the needle & thread, hand-stitch the leather through the two pre-made holes. Repeat this process on the other side.

6. Trim threads & leather strips - After sewing, trim the threads, and cut any extra leather off the ends.
And you're finished!
There's nothing like the thrill of making something by hand! It's all about mixing creativity with a touch of craftsmanship. Whether you're a DIY pro or a newbie, this project is a chance to let your artistic flair gallop free.
